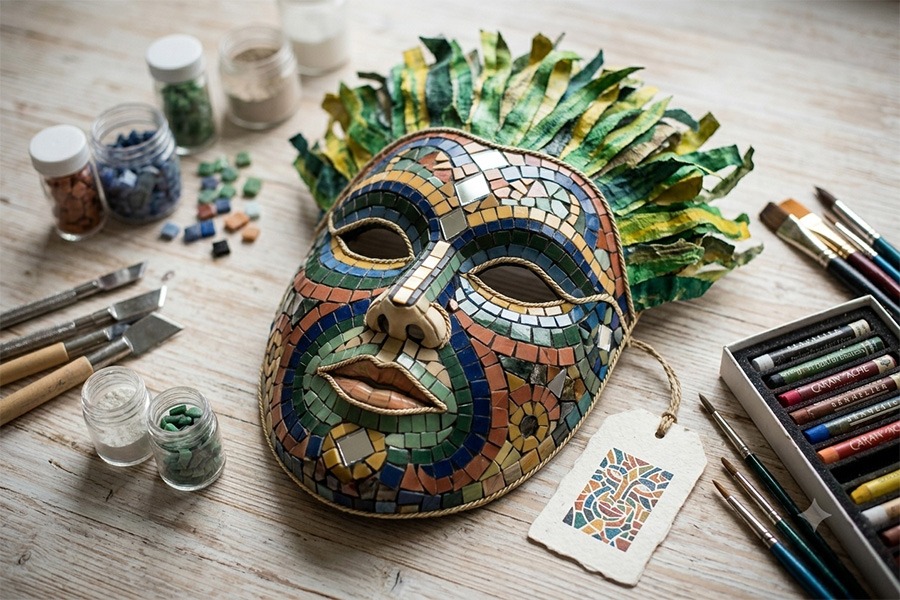
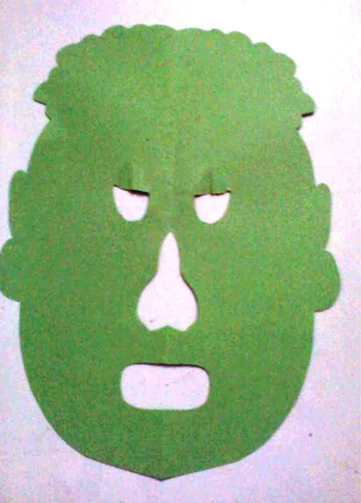
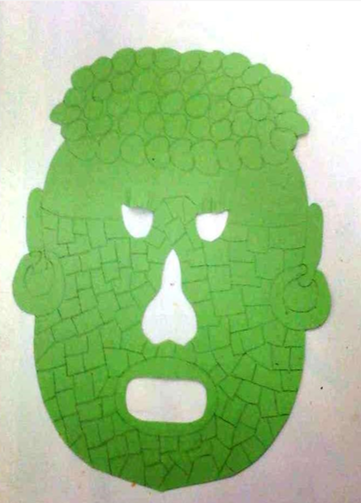
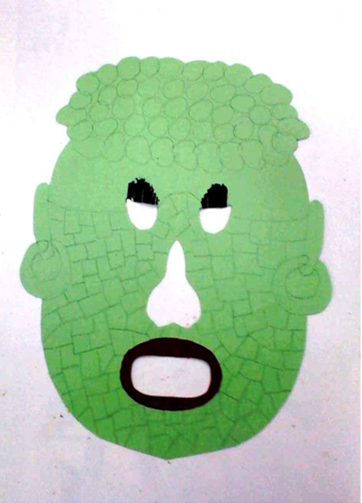
In many museums in Africa and around the world, mosaic works are displayed, created from small pieces of materials (stones, glass, or ceramics) joined together to form an impressive whole. This technique, which emphasizes the beauty of combining different materials, connects us to traditional design methods on the continent. In this activity (by: Dr. Yulia Vorobieichik), we will learn to create a symbolic mask, almost like a museum piece, using the mosaic technique – we will cut small, colorful pieces of paper and create unique and meaningful patterns from them.
This activity is not about creating an African mask, but rather provides a basic experience that can assist in more complex activities in the future. This activity is suitable even for young children, and it develops patience, accuracy, consistency, and imagination.
The Activity
Equipment and Materials for the Activity:
Colorful bristol board (light colors like light green, yellowish, pinkish, light blue) in A4 size. \(\space\)
Water-based markers, at least 12 colors (or “Panda” oil pastels, also no fewer than 12). \(\space\)
Pencil \(\space\)
Scissors in different sizes. \(\space\)
Lots of fantasy
Preparation:
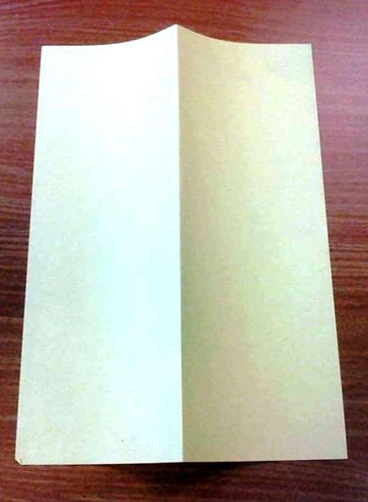
1. With the help of parents: fold one A4 sheet lengthwise.
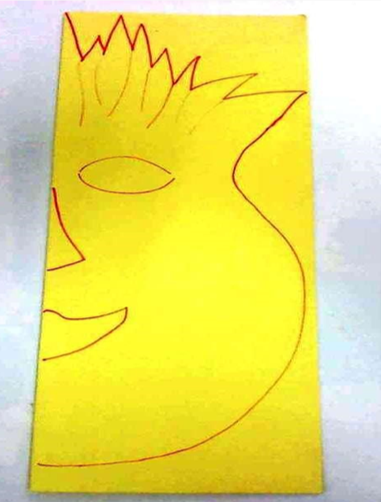
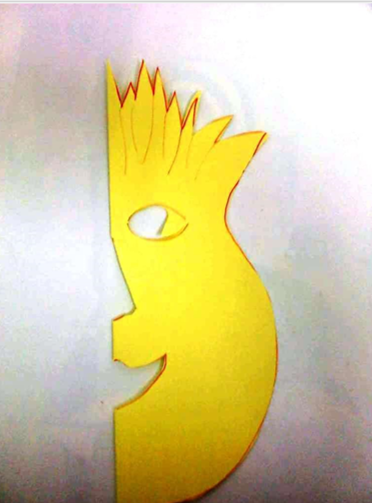
2. On the folded sheet, with the fold on the left side, the parents freely draw half a face: a cheek, one eye, half a mouth, half a nose, and spiky hair.
(I drew with a red marker so you could see better, but I suggest drawing with a pencil because it can always be corrected. In any case, the side we are working with now is the inner side of the mask).
3. The parents cut:
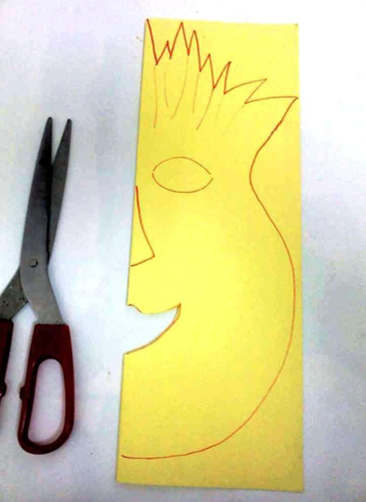
Cut around the outline with large scissors. \(\space\)
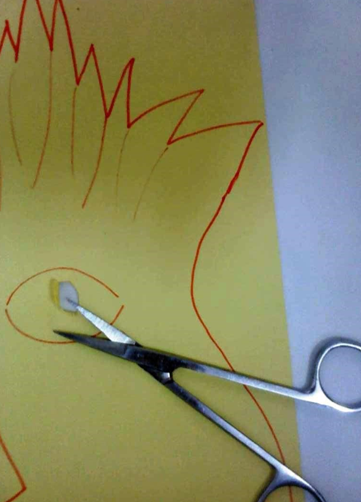
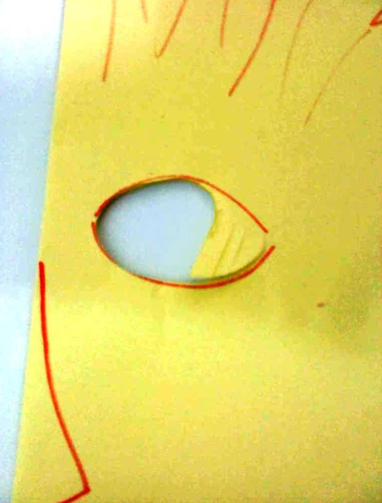
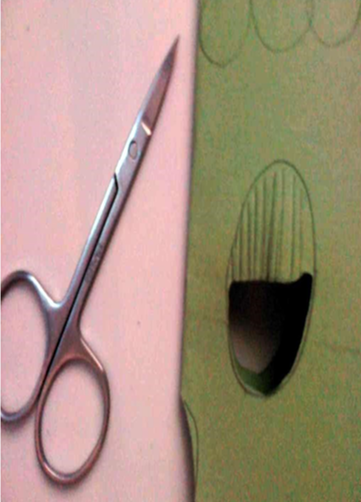
Cut out the eyes (both together since the paper is folded) with small scissors. To cut the eyes accurately, first puncture a hole in the middle of the eye using small scissors and then expand the hole. \(\space\)
At the edge of the eye, leave “eyelashes” as seen in the example. \(\space\)
Finish cutting.
1
2
3
4
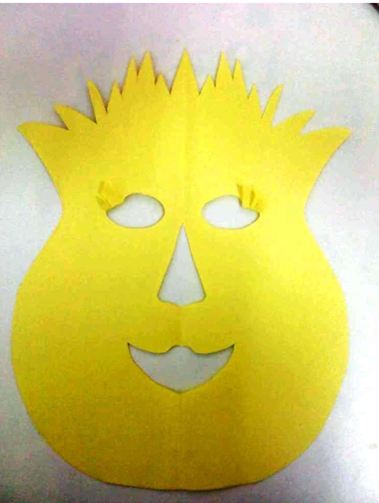
4. Parents and children together, open the mask and flip it over so that the clean side is in front of us.
5. With the help of parents:
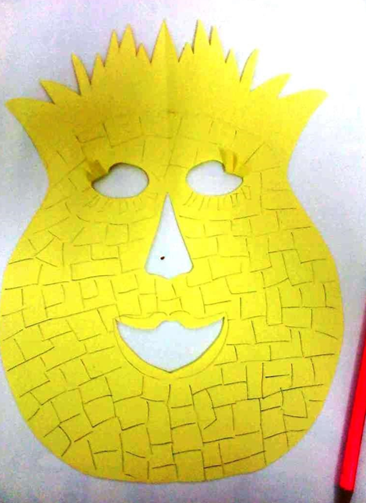
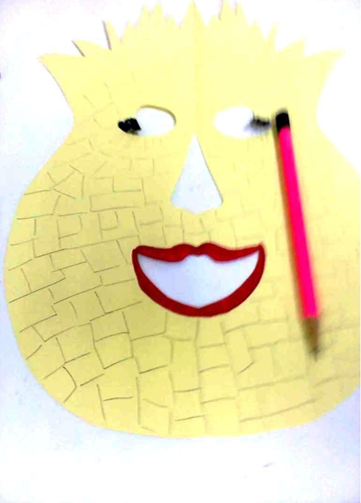
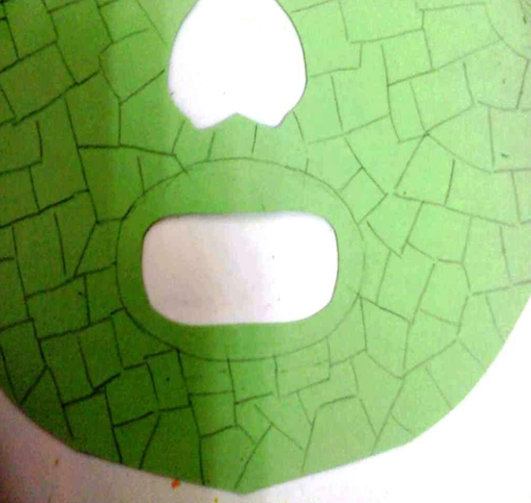
The parent draws free-form “mosaic” parts on the mask. \(\space\)
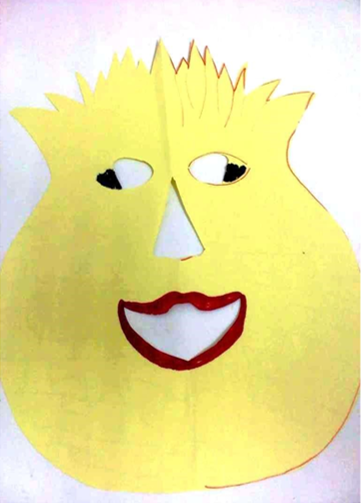
The parent assists the children in coloring the lips and eyelashes accordingly. This can be done on both sides of the mask. Do not fold the eyelashes yet.
1
2
3
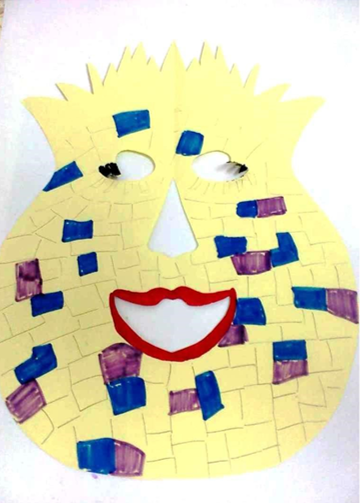
6. At this stage, the mask passes into the hands of the children. Ask them to choose one color (for example, we chose blue) and freely color isolated sections here and there.
Then, ask them to choose a color again (we chose purple) and this time set a small condition: every purple section must be adjacent to a blue section.
At each additional stage, add a color (by the child’s choice) and add a condition: For example, we chose the color yellow – ask for it to also be adjacent to the blue color, on a different side. Red color – to be adjacent to the yellow. Green color – to be adjacent to the red. In the end, a few isolated mosaic sections remain, and they can be colored in any desired color: pink, light blue, etc…
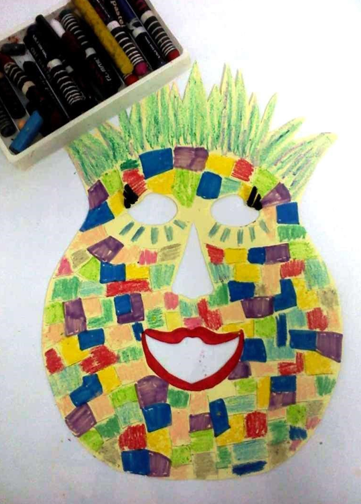
For the finishing touch: fold the black eyelashes upward and color the hair.
This mask-making activity is a “touch of mask-making,” a short-term craft.
You can prepare several blank examples in advance (copy them on a photocopy machine or print them) and engage the children in the creation as an activity during a birthday party.
Afterward, offer the children to compare masks. Organize a sort of competition with prizes: the neatest mask, the brightest mask, the darkest, a mask where a certain color dominates over other colors – you can always find something special in every piece of creative work.
This is a type of craft that is, of course, suitable for the Purim holiday.
During the work, you can discuss and experiment with the topic of colors.
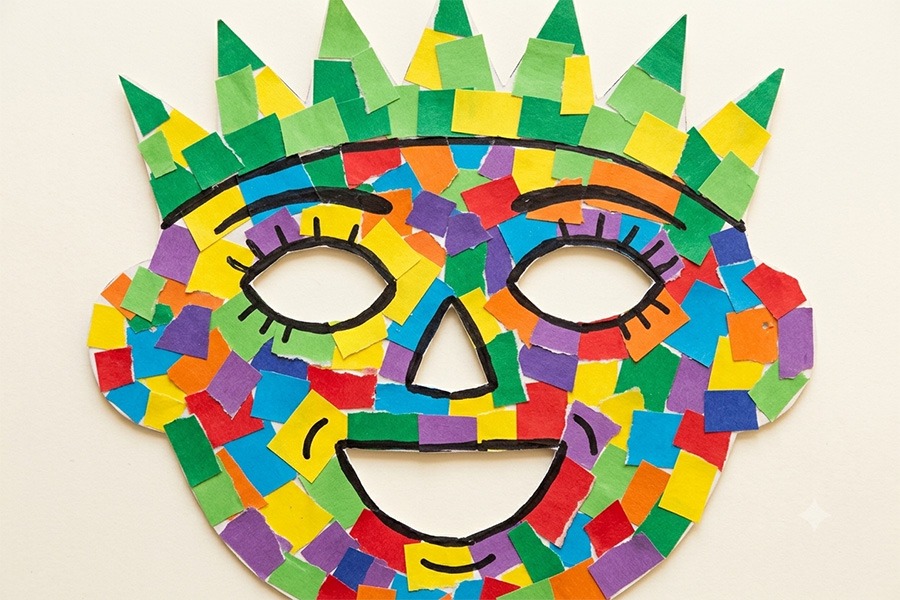
Another example of a mask:
After preparing this stage, the mask is ready for coloring.
After cutting
Eye and eyelashes
Preparation for mosaic
Marking lips
Eyes and mouth
אתר זה עושה שימוש שימוש בקבצי עוגיות (COOKIES) וטכנולוגיות מעקב לצורך תפעולו התקין ואבטחתו וגם למטרות נוספות כמו שיפור חווית הגלישה, ניתוח נתונים סטטיסטיים פרסום מותאם אישית או מבוסס העדפות. אנו לא נתקין באמצעות האתר על מכשירך עוגיות וטכנולוגיות מעקב נוספות שאינן הכרחיים לתפעול הטכני של האתר ללא הסכמתך. למידע נוסף אנא עיין בחלק "נתונים שאינם מידע אישי אשר אנו אוספים באתר" במדיניות הפרטיות שלנו.
"This website uses cookies and tracking technologies for its proper functioning and security, as well as for additional purposes such as improving your browsing experience, statistical data analysis, and personalized or preference-based advertising. We will not install on your device any cookies or tracking technologies that are not strictly necessary for the technical operation of the site without your consent. For more information, please refer to the section “Non-Personal Data we Collect" in our privacy policy