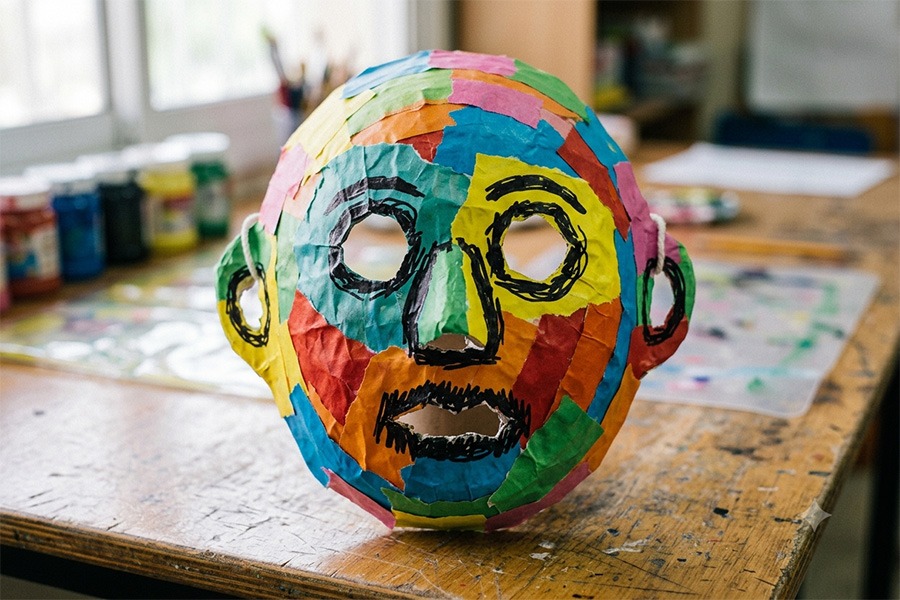
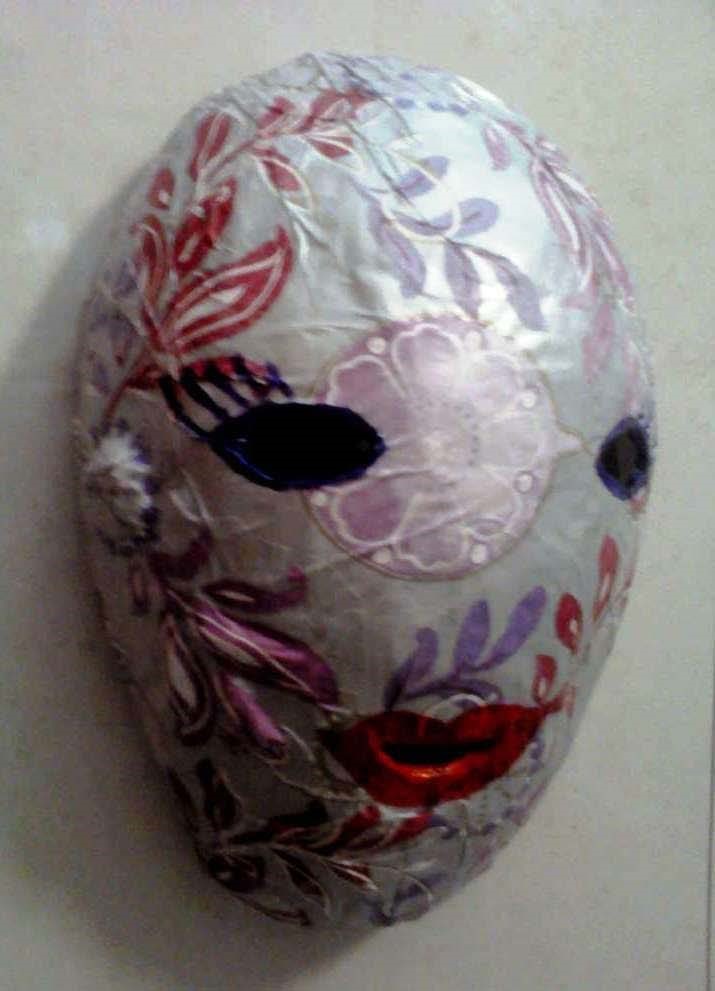
Have you noticed the deep, three-dimensional structure of wooden-carved African masks in museums? These masks were created to project power and presence during ceremonies. In this creative activity (by: Dr. Yulia Vorobieichik), we will explore the theme of sculpting and volume, and create a mask with a round, prominent shape using a balloon. This is a great way to experience the challenge of sculpting, which is so common in traditional West African art, and to understand how volume and life are given to materials.
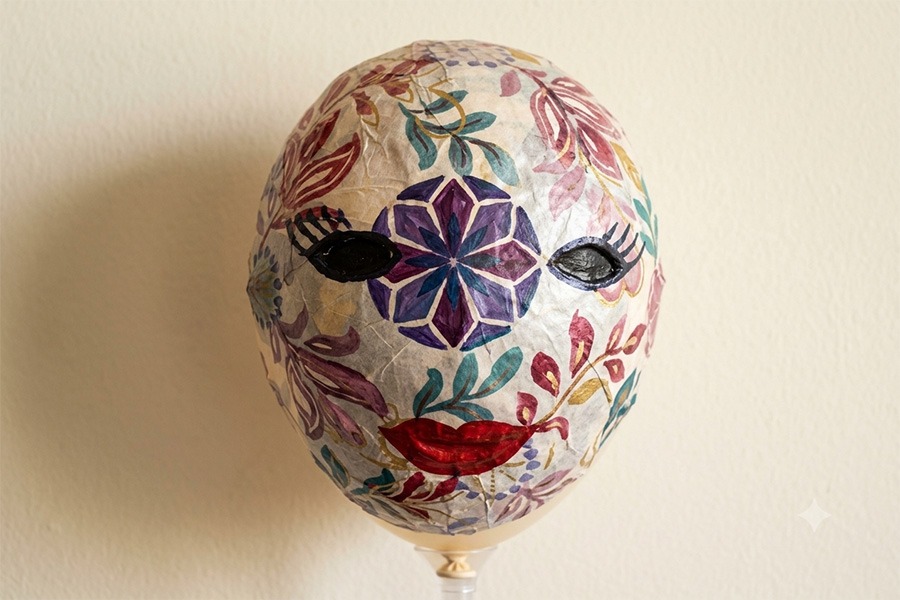
A decorative mask is usually an ornamental mask. Making such a mask is a multi-step process that requires patience. But the result is worth every effort. There is no limit to imagination in masks of this type.
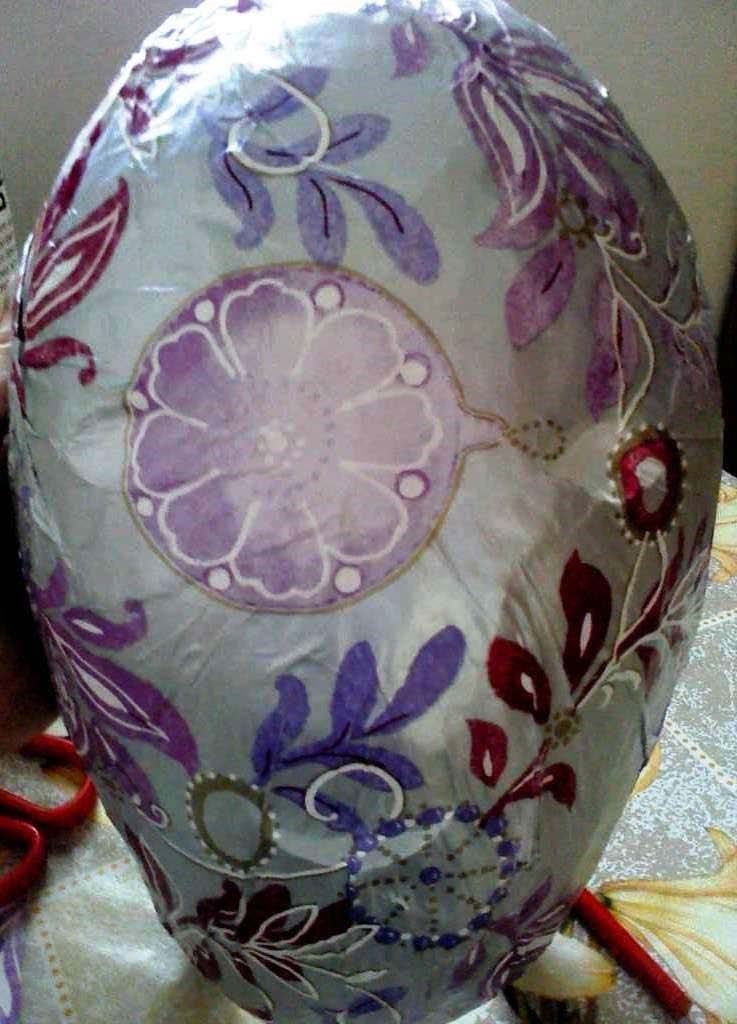
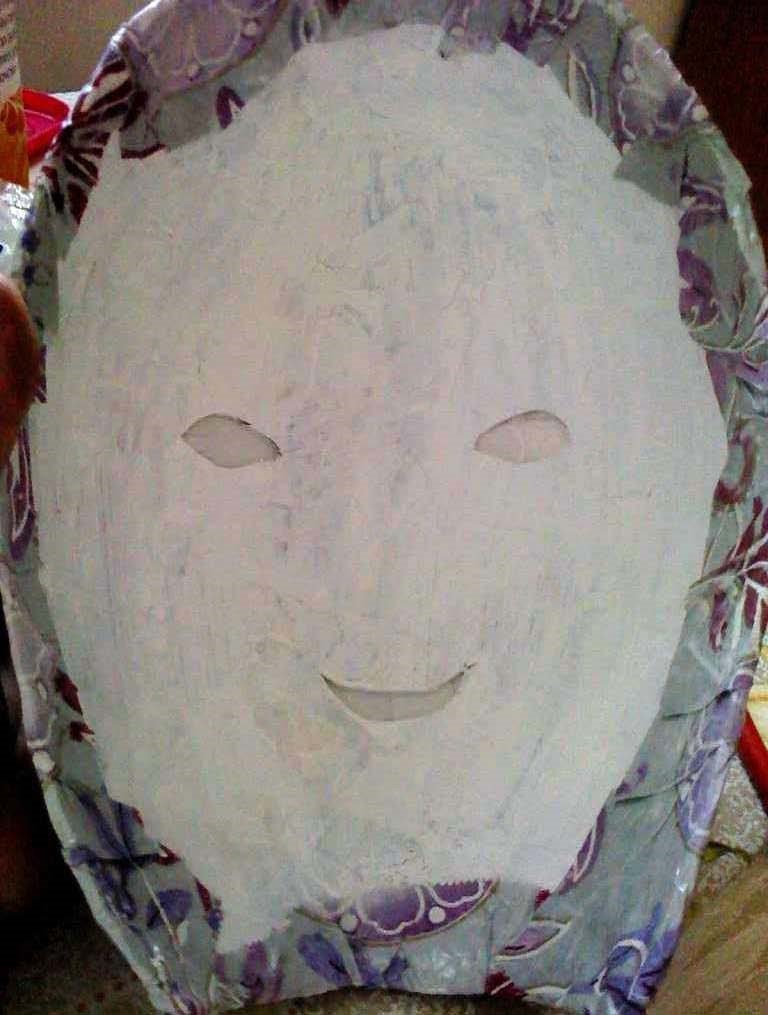
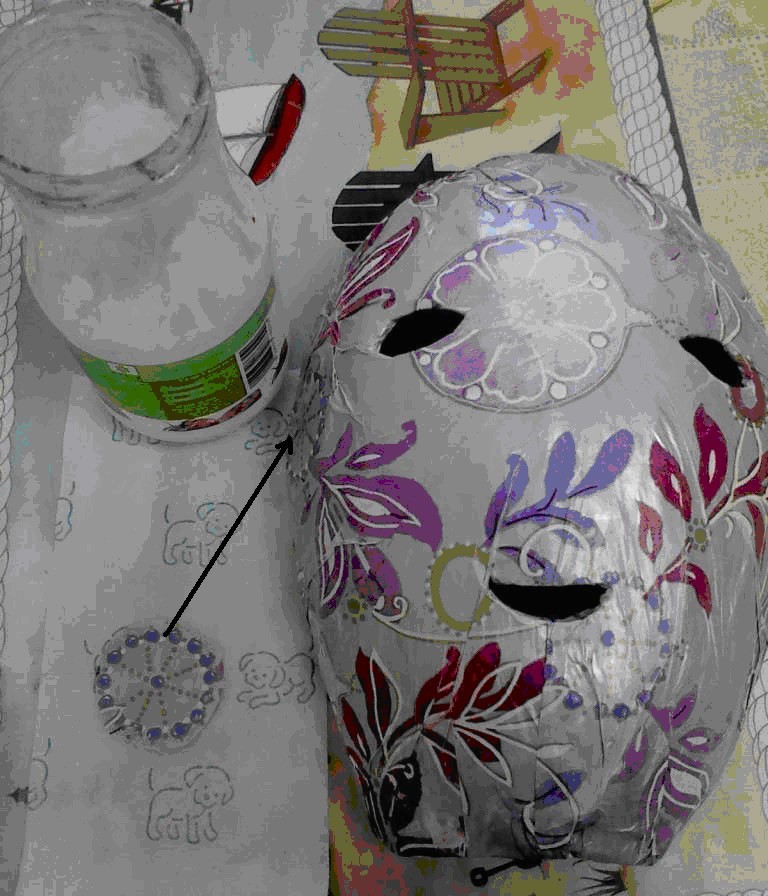
The mask in the example might resemble an alien’s face, but a floral paper decoration adds the aspect of a decorative artwork to it.
The Activity
Equipment and Materials for the Activity:
A regular inflated balloon \(\space\)
White glue (plastic glue) and water to dilute it \(\space\)
A wide paintbrush \(\space\)
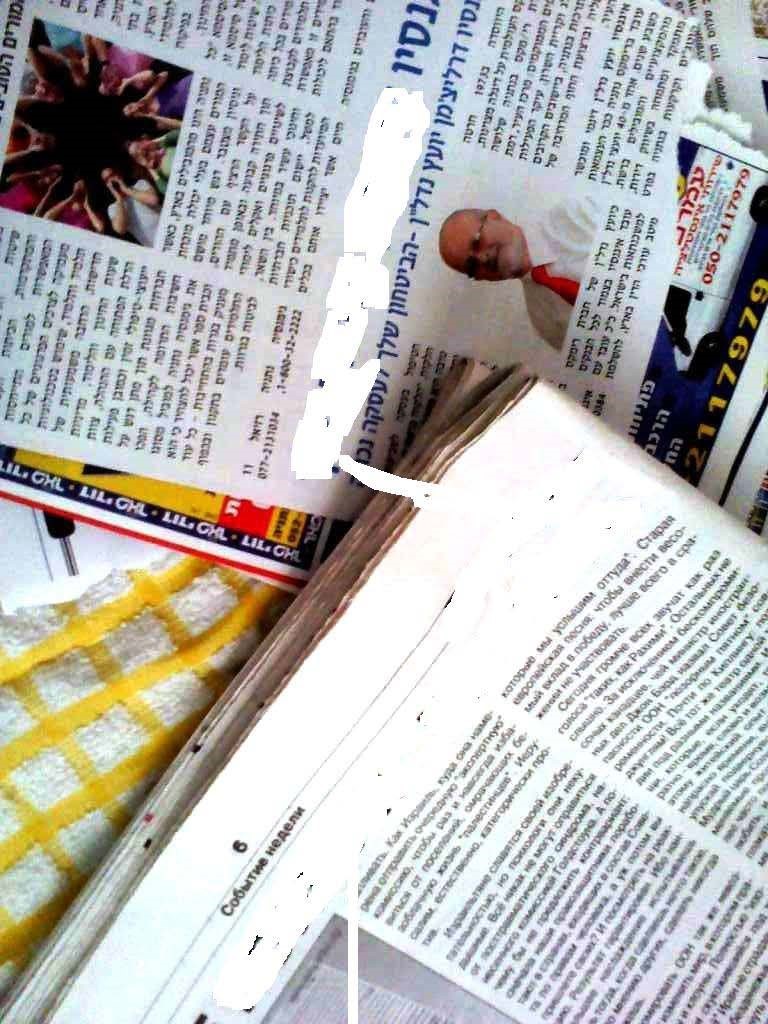
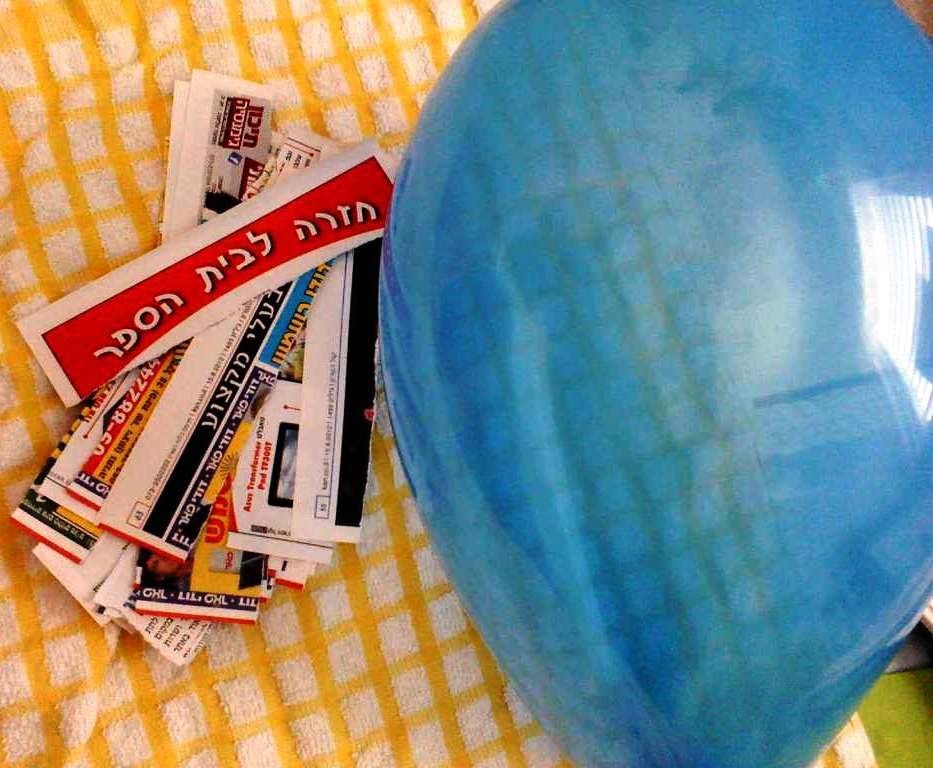
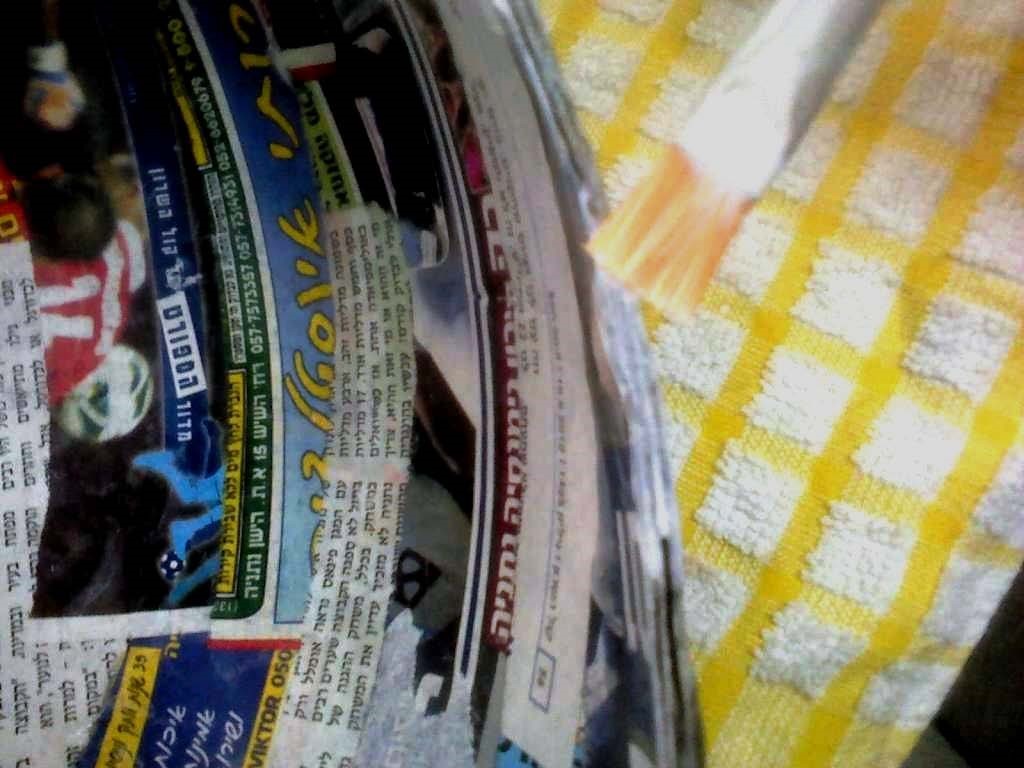
2 “thick” newspapers in two different languages (Hebrew and English, Hebrew and Arabic, Hebrew and Russian). This is to distinguish between layers during pasting. We will need to tear the newspaper pages into small strips and pieces. \(\space\)
Scissors \(\space\)
A disposable aluminum pan \(\space\)
A little oil (soy, canola) \(\space\)
A plastic table cover (You can use a bag: cut the sides and open it)
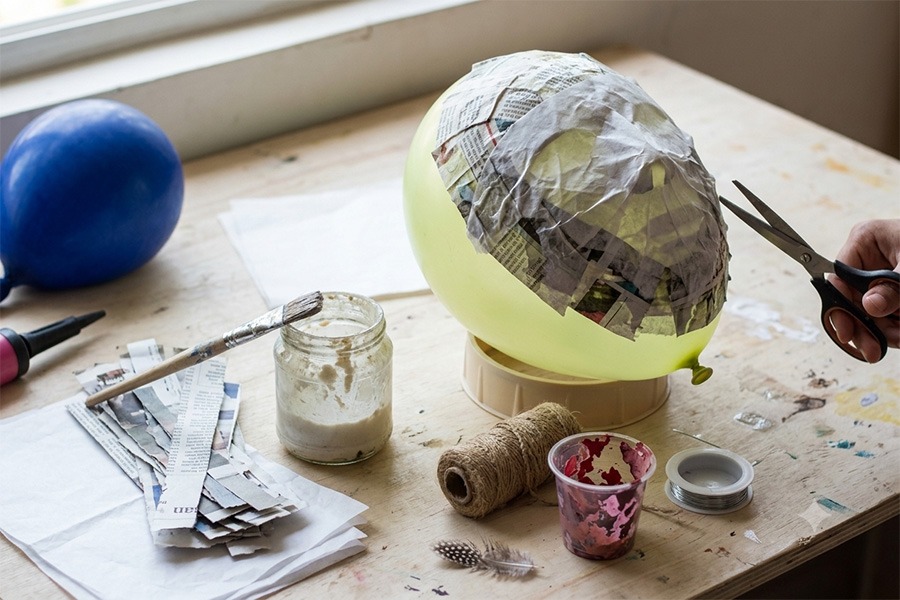
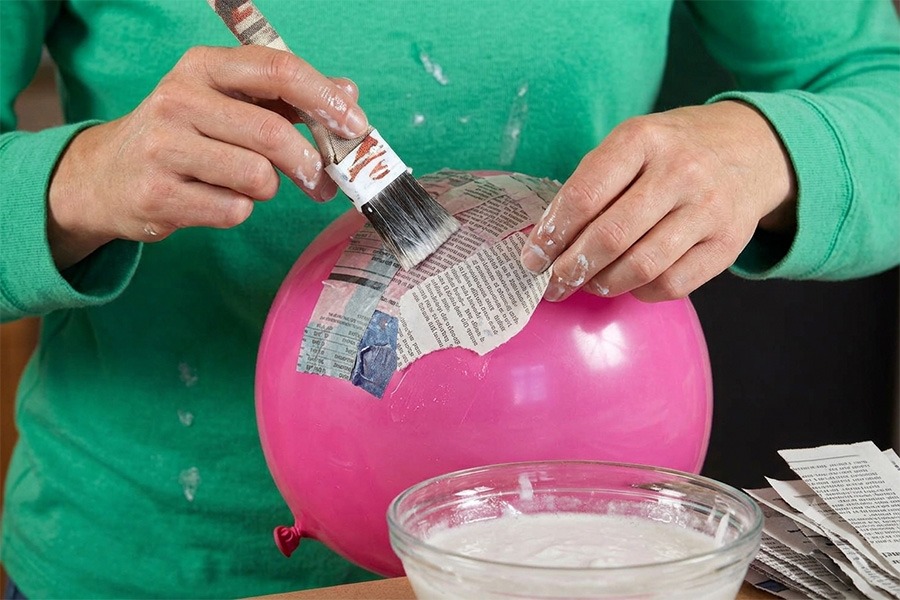
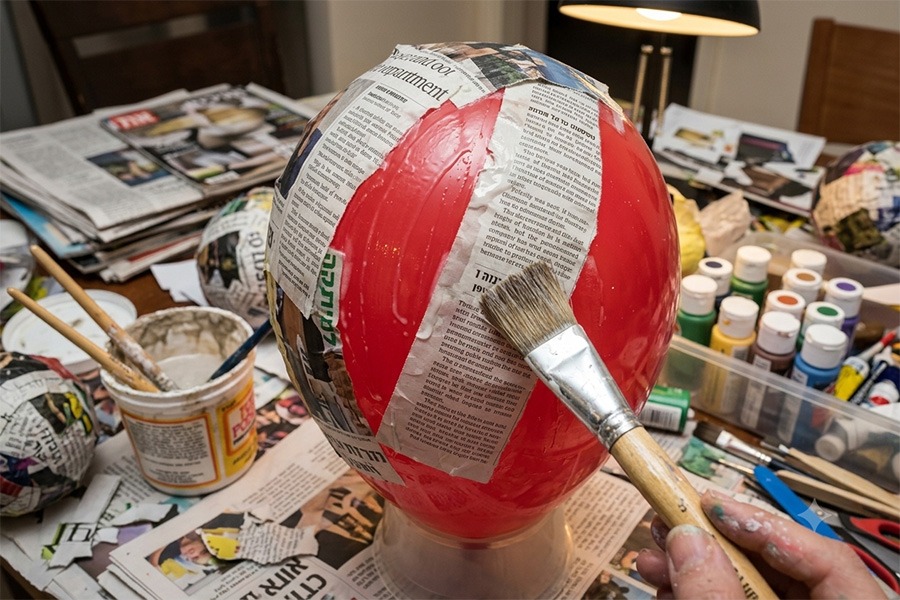
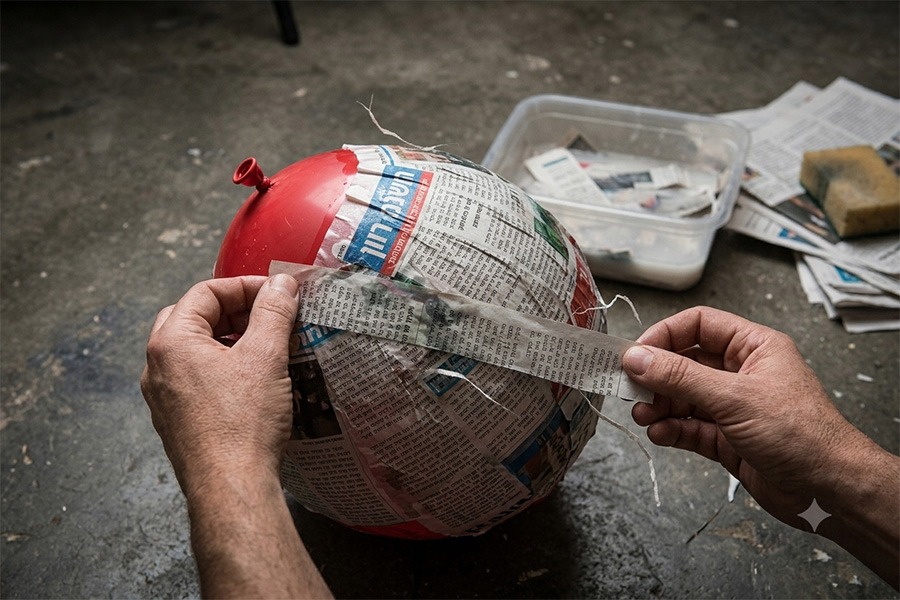
As we said, we create the body of the mask from torn strips of newspaper, which are pasted around an inflated balloon. Two masks can be made from each balloon.
There are two main methods for pasting and drying paper on the surface of an inflated balloon. Choose the suitable option. In any case, the area around the balloon knot remains clear of pasting.
Hanging
The balloon can be hung up, and each layer of paper dried while hanging.
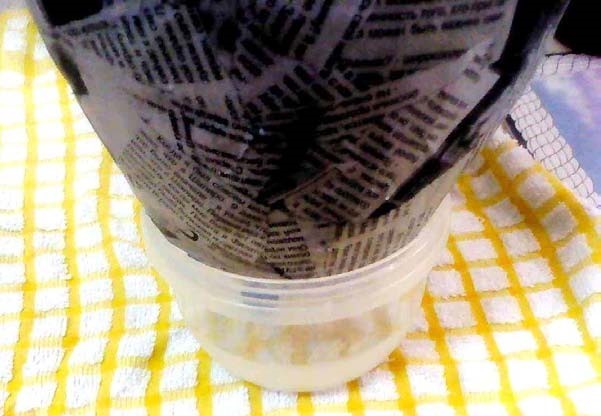
Standing
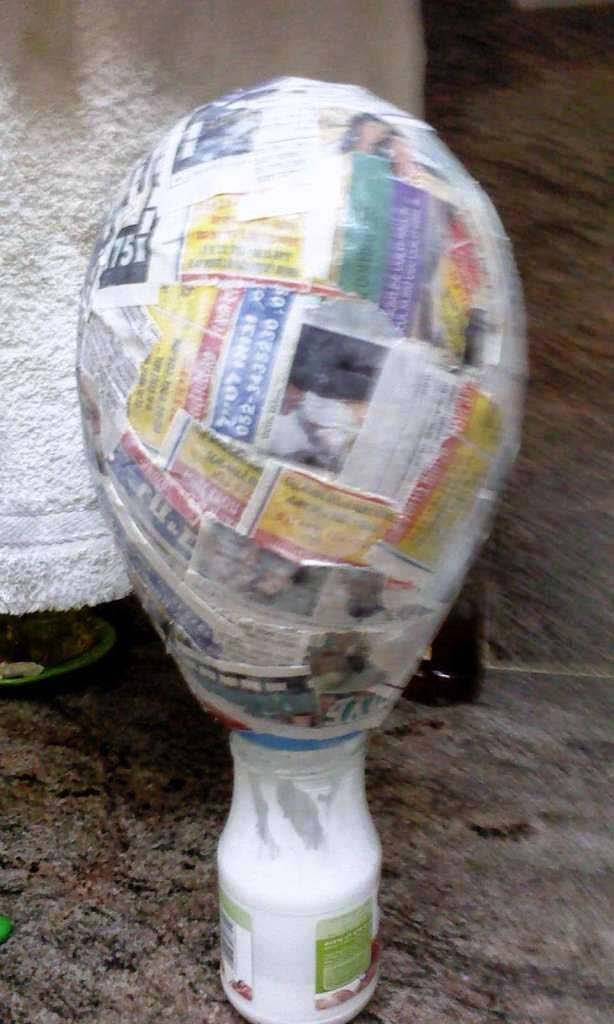
The balloon can be placed on a jar or a bowl. Paste and dry each layer of paper while standing.
1. Preparing the Workspace
Piles of newspaper sheets
Tear newspaper pages (two newspapers in different languages). For this purpose, prepare two piles of torn newspaper.
Applying oil
Dip your fingertips in vegetable oil and rub a very thin layer all over the balloon. This is to facilitate the future separation between the balloon and the mask.
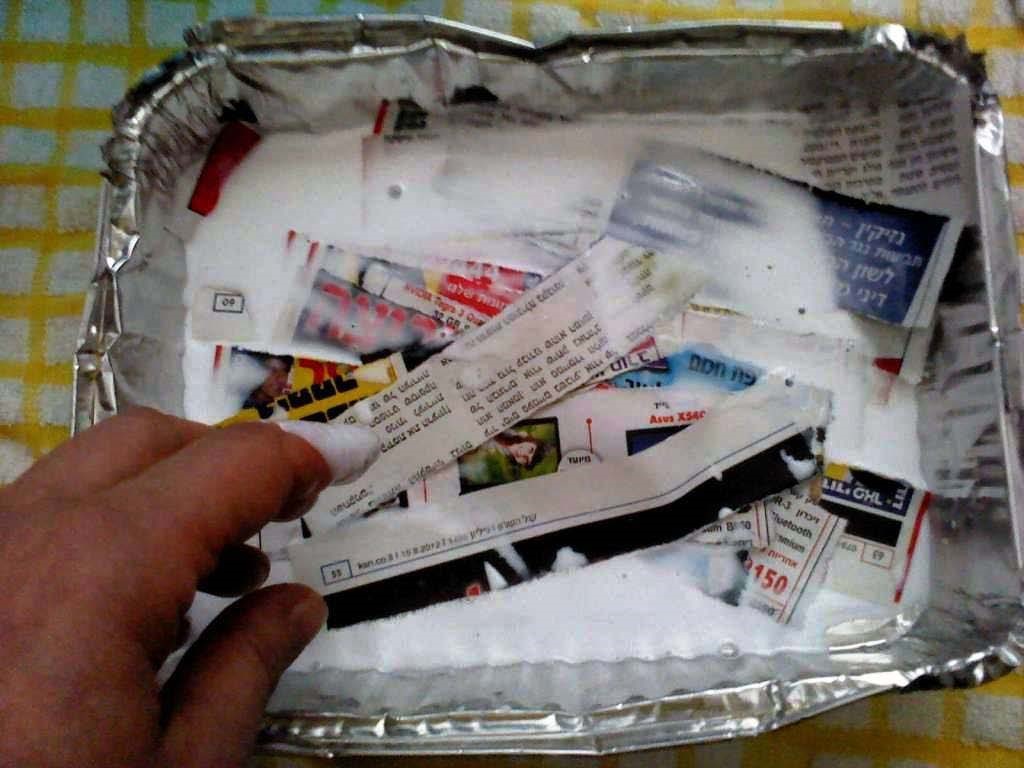
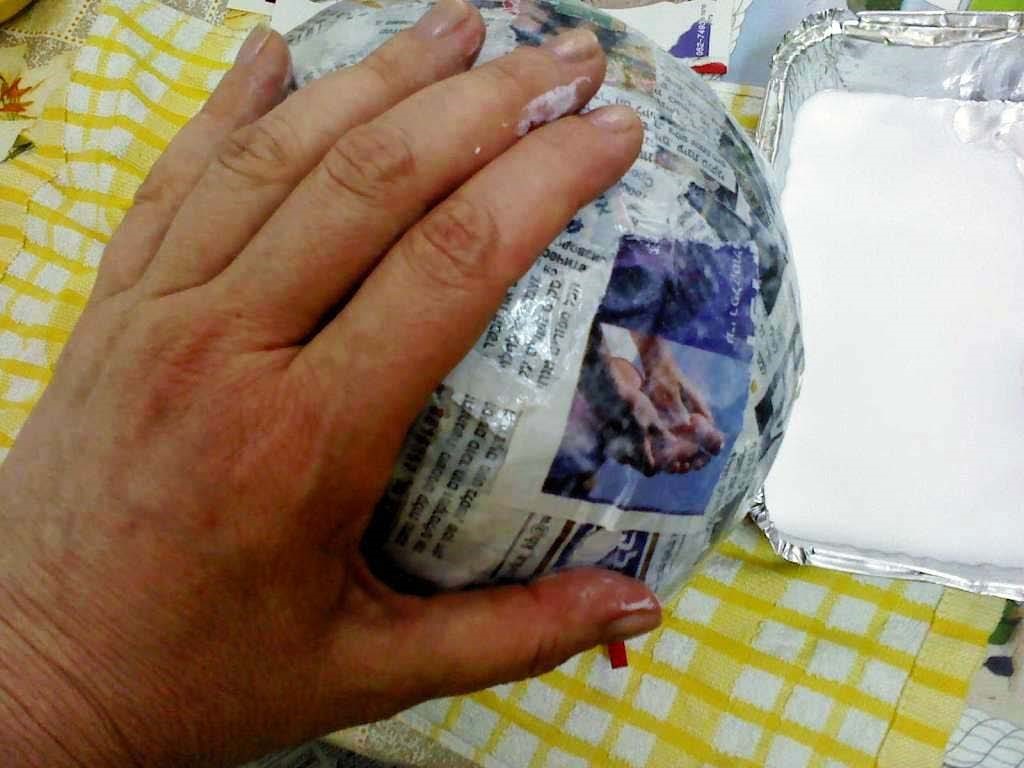
2. In the aluminum tray, dilute the glue with a little water. This is done because the glue is usually too thick and in that state does not absorb quickly into the paper. Dip the newspaper strips into the glue and place them on the balloon.
There are several pasting options. Choose the suitable option.
1
Using a paintbrush
2
Glue can be applied both over and under the newspaper strip
3
You can work with your hands
After pasting each layer, leave it to dry on the balloon (hanging or standing), and this takes time.
When one layer is already dry, paste a second layer using newspaper in a different language, to identify spots where we did not paste.
Paste at least 10-12 layers this way.
It is very important not to rush: working in haste does not lead to a good result.
1
Pasting a layer…
2
And another layer…
3
Nearing the completion of the pasting…
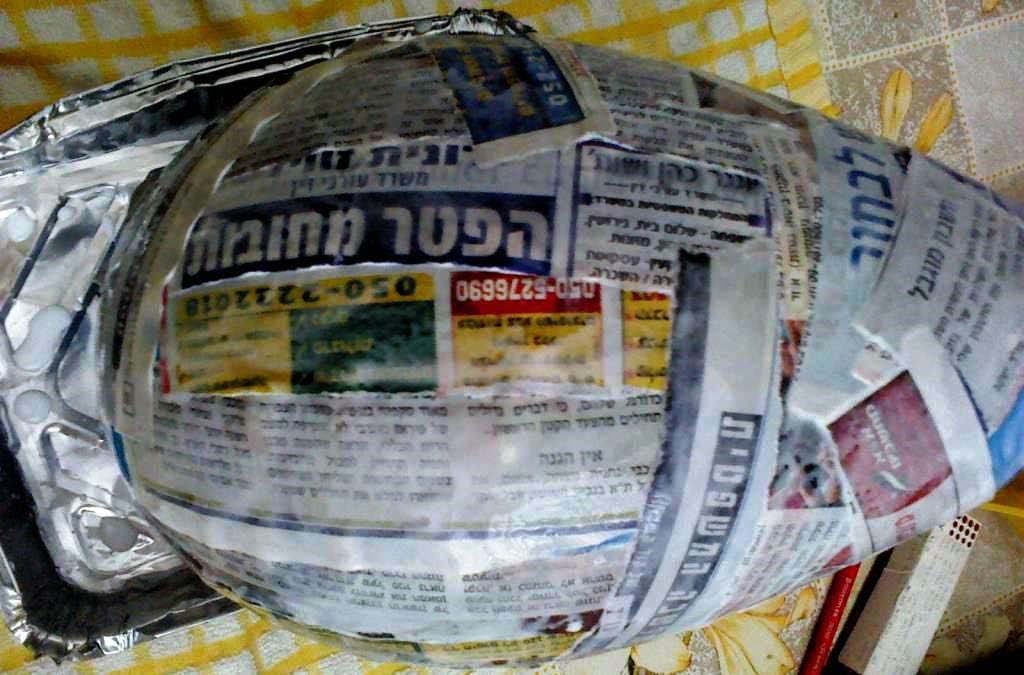
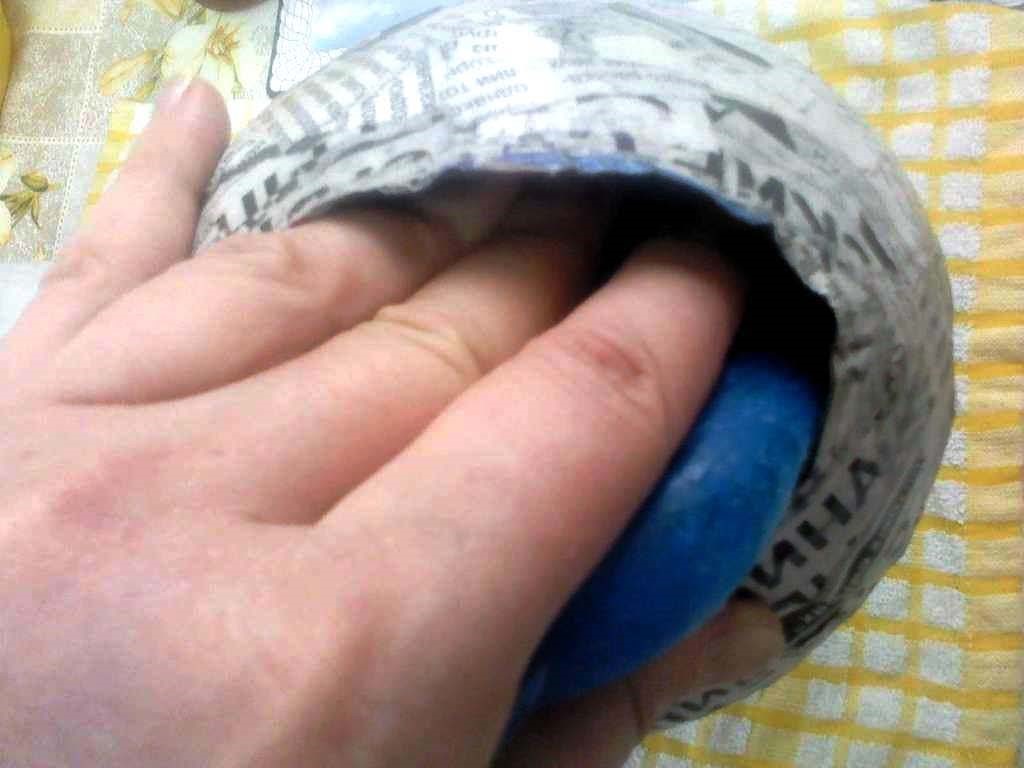
Paste the last layer – and after it is completely dry… Check if the balloon separates easily from the newspaper layer.
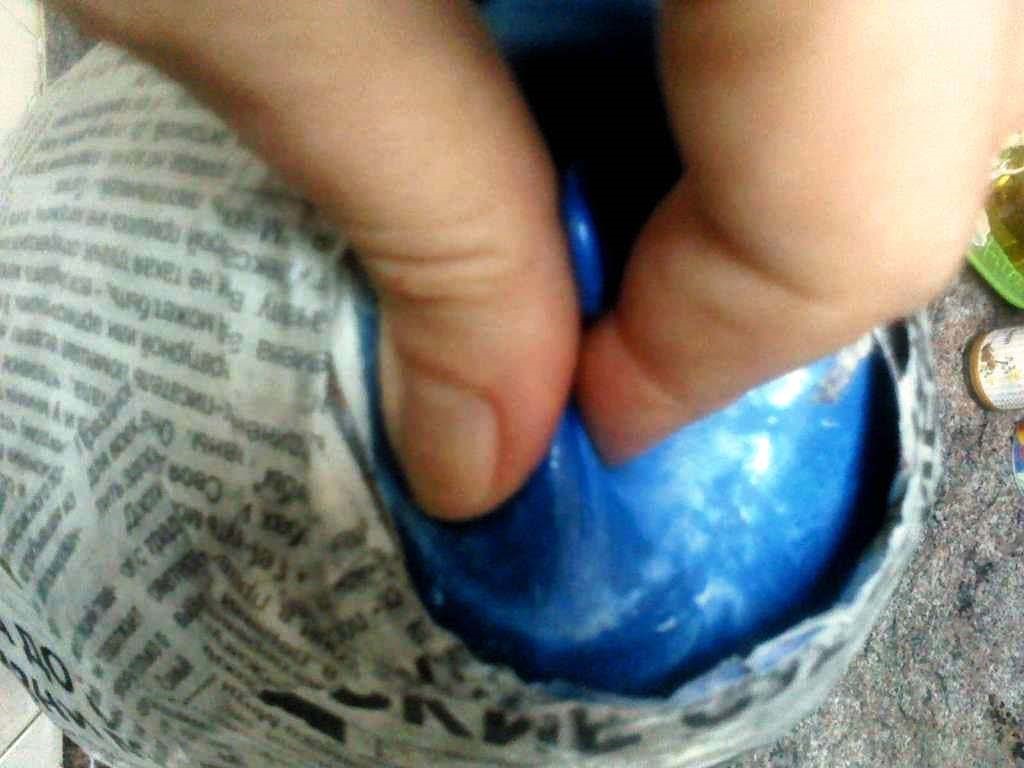
If so, cut with scissors around the balloon knot. The balloon deflates immediately, and we get a rigid “replica” of it, made of newspaper.
1
Checking…
2
Checking…
3
Cutting the balloon
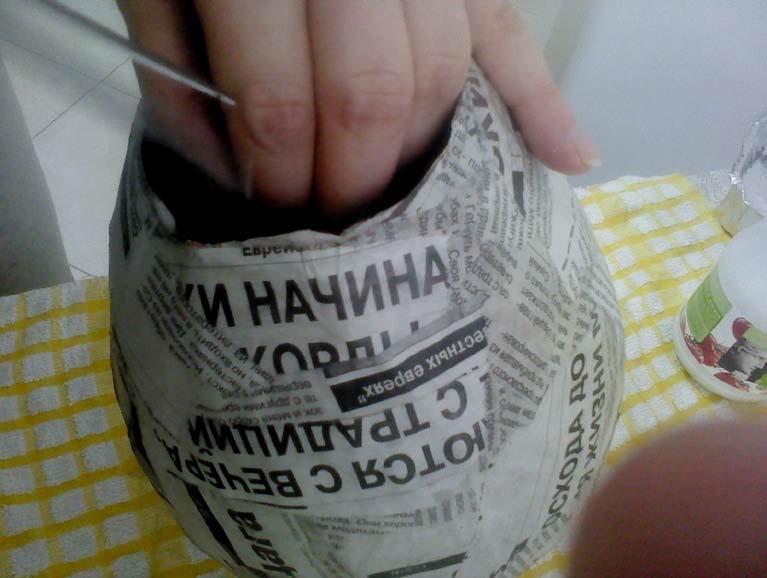
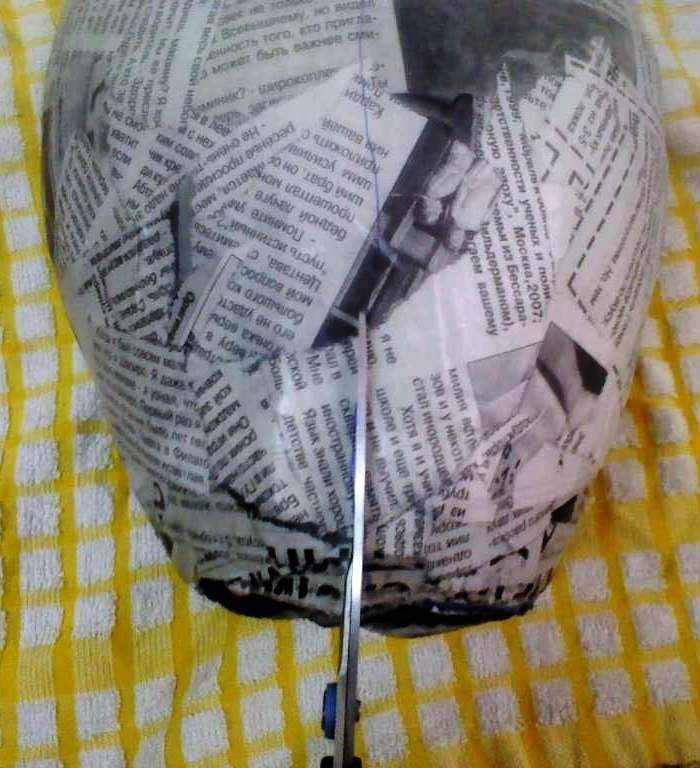
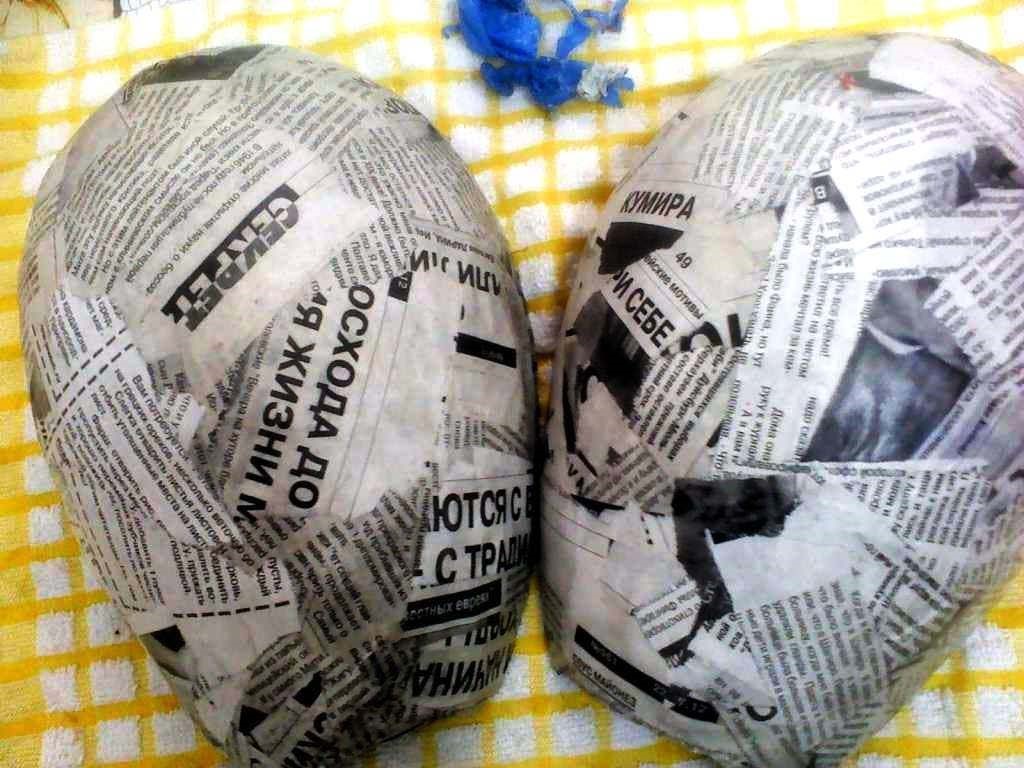
3. Cut the model into two halves. To make cutting easier, it is recommended to mark a line and cut accordingly.
1
Cutting
2
This is how the two halves look from the outside
3
And this is how they look from the inside
4
Now, each half already resembles the shape of a fencer’s mask.
4. Now we will move on to the most fun and simplest stage – painting.
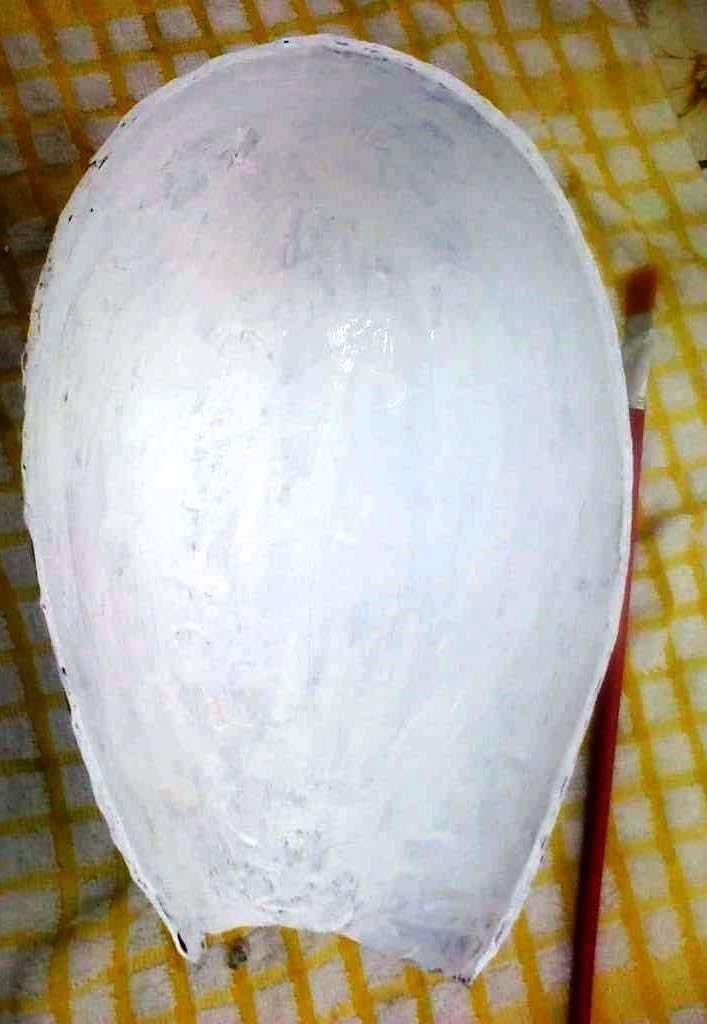
1
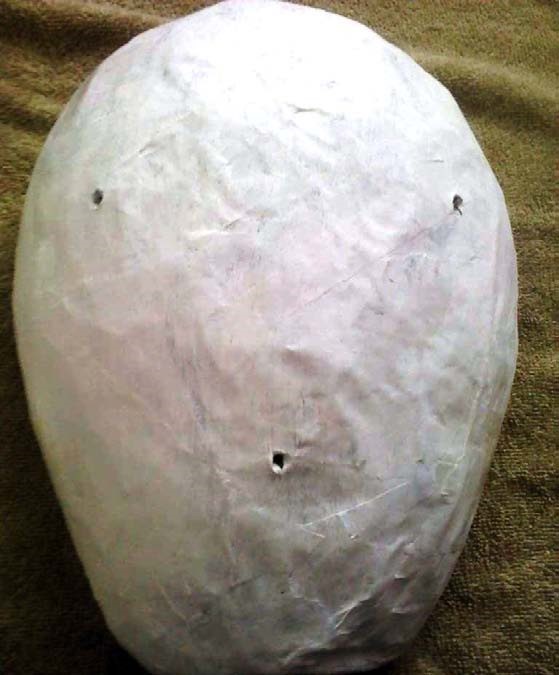
Paint the halves on both sides with white paint. At the same time, correct / straighten the bottom line of the mask.
2
Hold the mask to the face and plan approximate locations for the eyes and lips with a pencil. Only afterward create holes, using scissors or an awl.
3
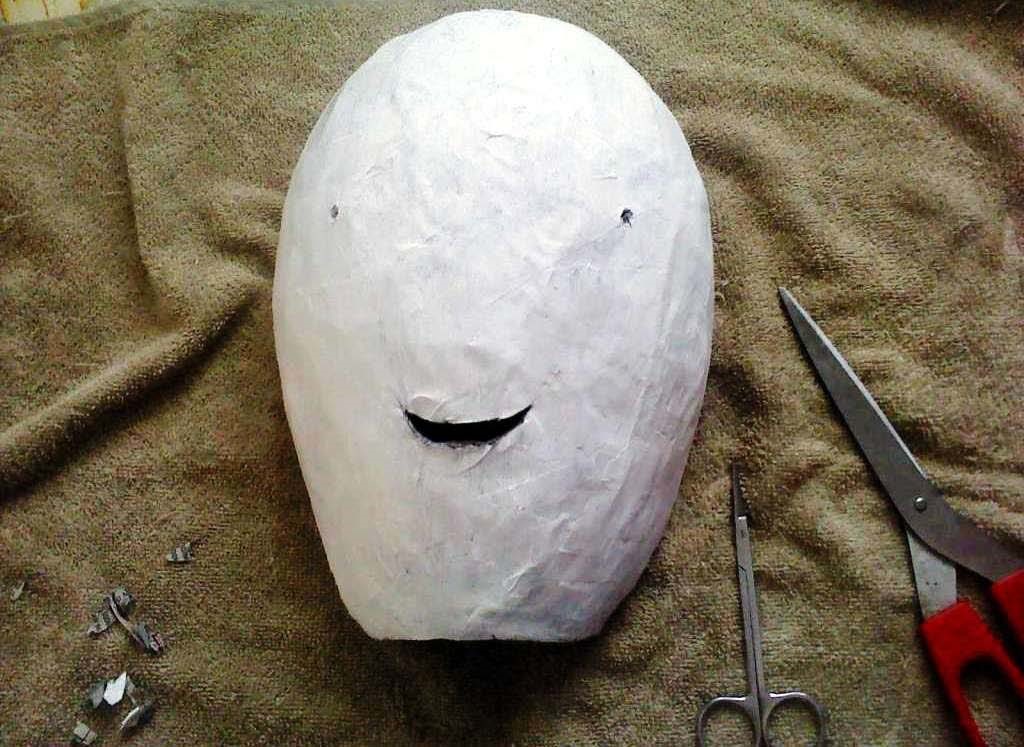
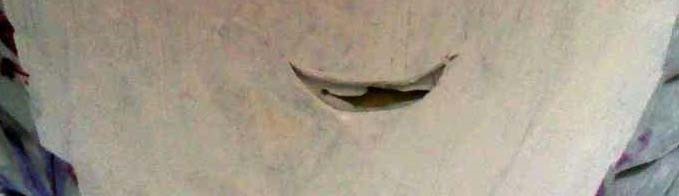
Cut an opening for the mouth, using large and small scissors.
4
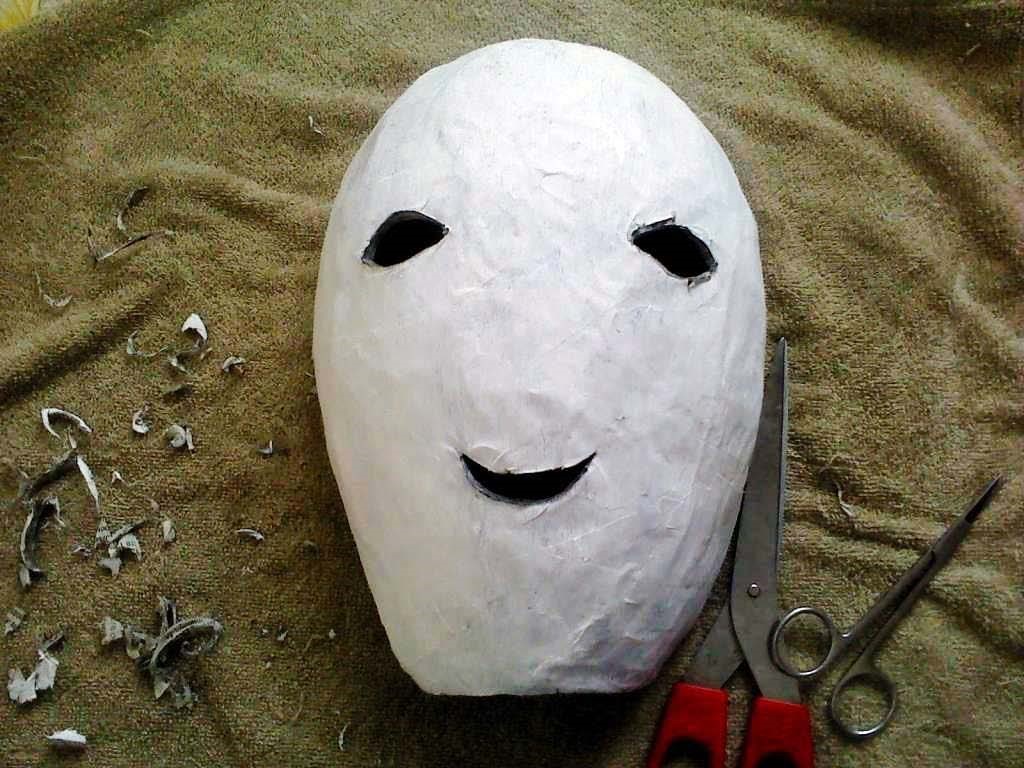
Cut openings for the eyes.
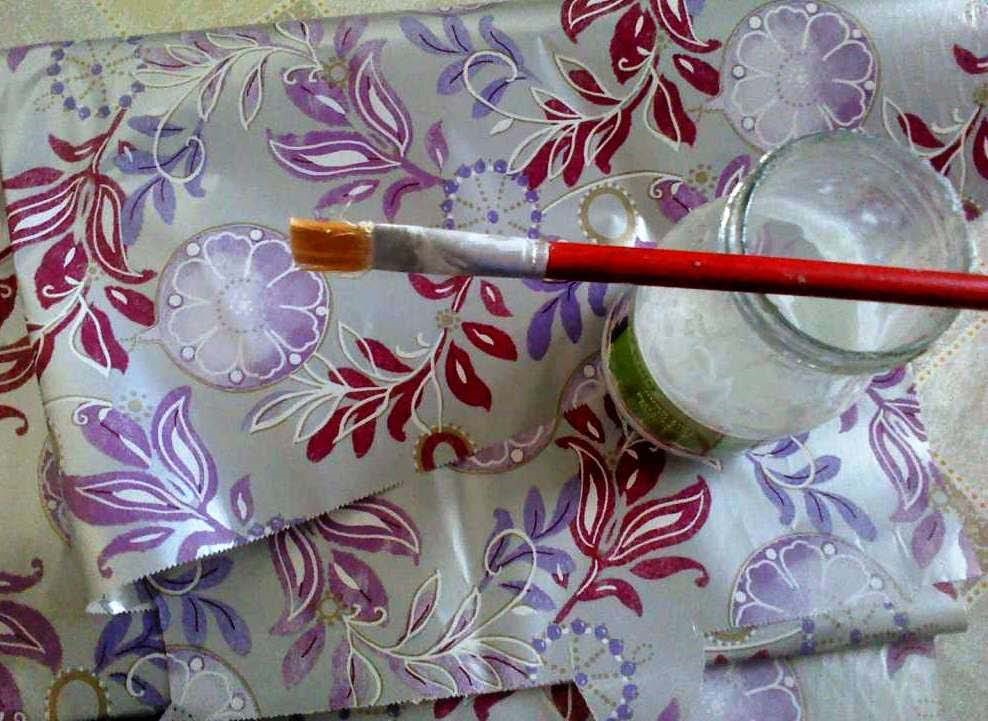
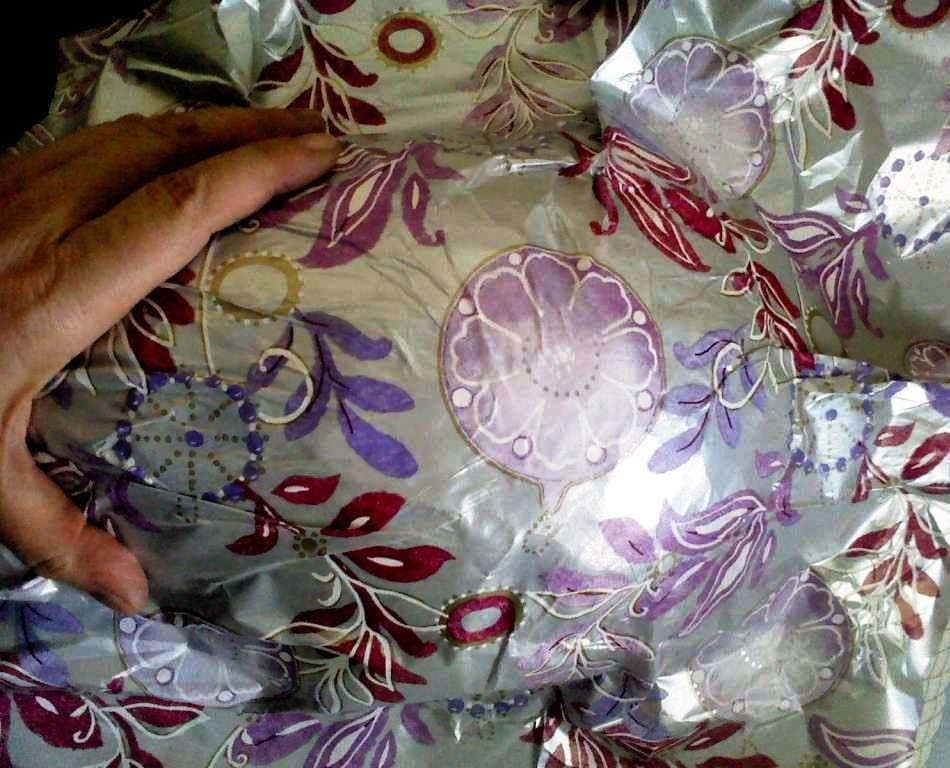
5. Pasting colorful paper. When the base of the mask is ready (painted white, completely dry), colorful paper can be pasted.
We need thin paper (wrapping paper from the supermarket is very suitable).
1
Simply apply glue onto the surface of the mask and attach the paper.
2
Naturally during the work, paper wrinkles are formed. This does not interfere, but on the contrary, adds beauty.
3
Fold the edges of the wrapping paper inward (freely, here we no longer worry about special neatness) and paste onto the back (inner) side of the mask.
4
With small scissors, gently open the paper in the lip area, fold inward, and paste.
5
Treat the eyes in the same manner.
6. For an upgrade, relief/elevation can be made in various specific areas of the mask.
1
See a sort of flower on the left side and cut an identical flower from the wrapping paper.
2
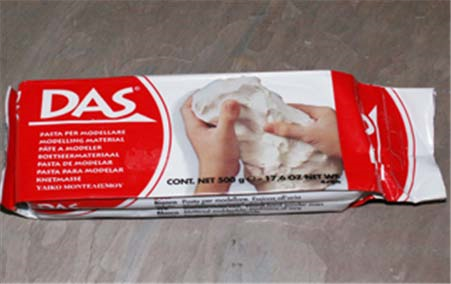
To make the relief, take a little Das modeling clay.
3
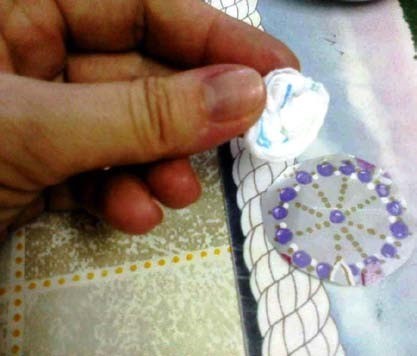
Create a sort of small bowl / button out of the Das (Plasticine can be used instead of Das. Although plasticine does not dry, it is suitable as a relief solution).
4
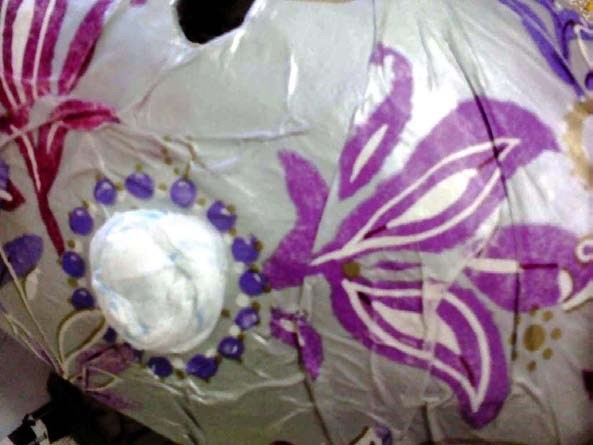
Paste the small bowl / button in the designated spot. Wait for complete drying.
5
Paste the paper flower that we cut over the relief. Try to paste precisely. Glue can also be applied over the paper to flatten paper folds.
7. To finish:
Paint the eyes and lips with an indelible marker and dry.
Apply glue over the surface of the mask, which will serve as a coating, like varnish.
The mask can be hung on the wall.
אתר זה עושה שימוש שימוש בקבצי עוגיות (COOKIES) וטכנולוגיות מעקב לצורך תפעולו התקין ואבטחתו וגם למטרות נוספות כמו שיפור חווית הגלישה, ניתוח נתונים סטטיסטיים פרסום מותאם אישית או מבוסס העדפות. אנו לא נתקין באמצעות האתר על מכשירך עוגיות וטכנולוגיות מעקב נוספות שאינן הכרחיים לתפעול הטכני של האתר ללא הסכמתך. למידע נוסף אנא עיין בחלק "נתונים שאינם מידע אישי אשר אנו אוספים באתר" במדיניות הפרטיות שלנו.
"This website uses cookies and tracking technologies for its proper functioning and security, as well as for additional purposes such as improving your browsing experience, statistical data analysis, and personalized or preference-based advertising. We will not install on your device any cookies or tracking technologies that are not strictly necessary for the technical operation of the site without your consent. For more information, please refer to the section “Non-Personal Data we Collect" in our privacy policy